<div id=”link_wrapped_content”>
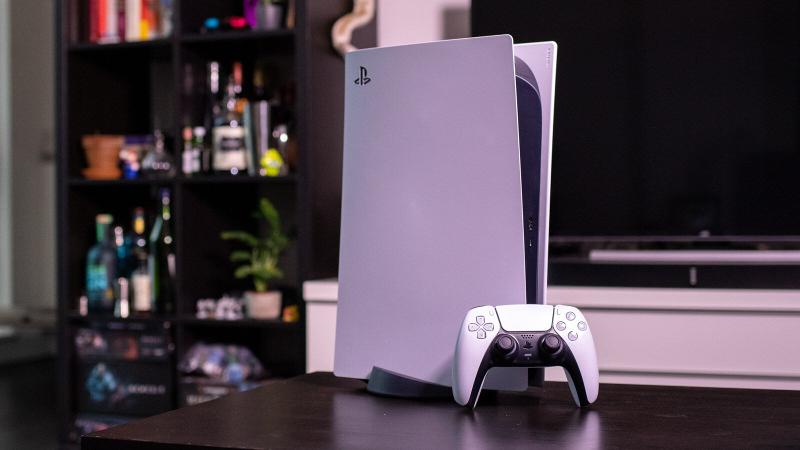
Setting up a VPN on a PC or smartphone is pretty simple, but the same can’t be said for consoles – especially Sony’s PS4 and PS5. Much to the dismay of gamers, Sony doesn’t allow vpn apps on its platform, meaning you can’t just browse Sony’s PlayStation Store, find the NordVPN or ExpressVPN app and set up a connection.
In fact, you can’t even sideload VPN apps as the consoles simply don’t support them.
But before you click away disheartened, there are a handful of unofficial ways to use a VPN on the PS4 or PS5 to access other regions of Netflix, get early access to new games, improve laggy online connections and more. We outline the four best ways of using a VPN on PS4 and PS5 right here.
Oh, and if you’ve got the last-generation Xbox too, then check out our guide to setting up a VPN on Xbox One as well.
Why would I use a VPN on my PS4 or PS5?
Before we explain the various methods, let’s talk about why you might want to use a VPN on your PS4 or PS5.
First off, it can reduce your ping, which means a reduction in lag when online gaming, and it’ll also protect you from potential DDOS attacks if you’re a streamer.
Aside from an improvement in online gaming performance, you may also be able to play new games before they’re released in your region. Games that are released on the same day typically become available to download and play in Australia hours before those in the UK and the US. But, using a VPN, you can trick your console into thinking you’re in Australia and get early access to the latest PlayStation titles.
Oh, and using the console’s streaming apps, you can access geo-locked content from around the world. Did somebody say US Netflix?
As we’ve alluded to, the big problem is that you can’t configure a VPN service or install an app directly on the consoles. This means the process is a little more involved than some might like, but there are four main options open to you.
Set up a PS4 or PS5 VPN via Wi-Fi router
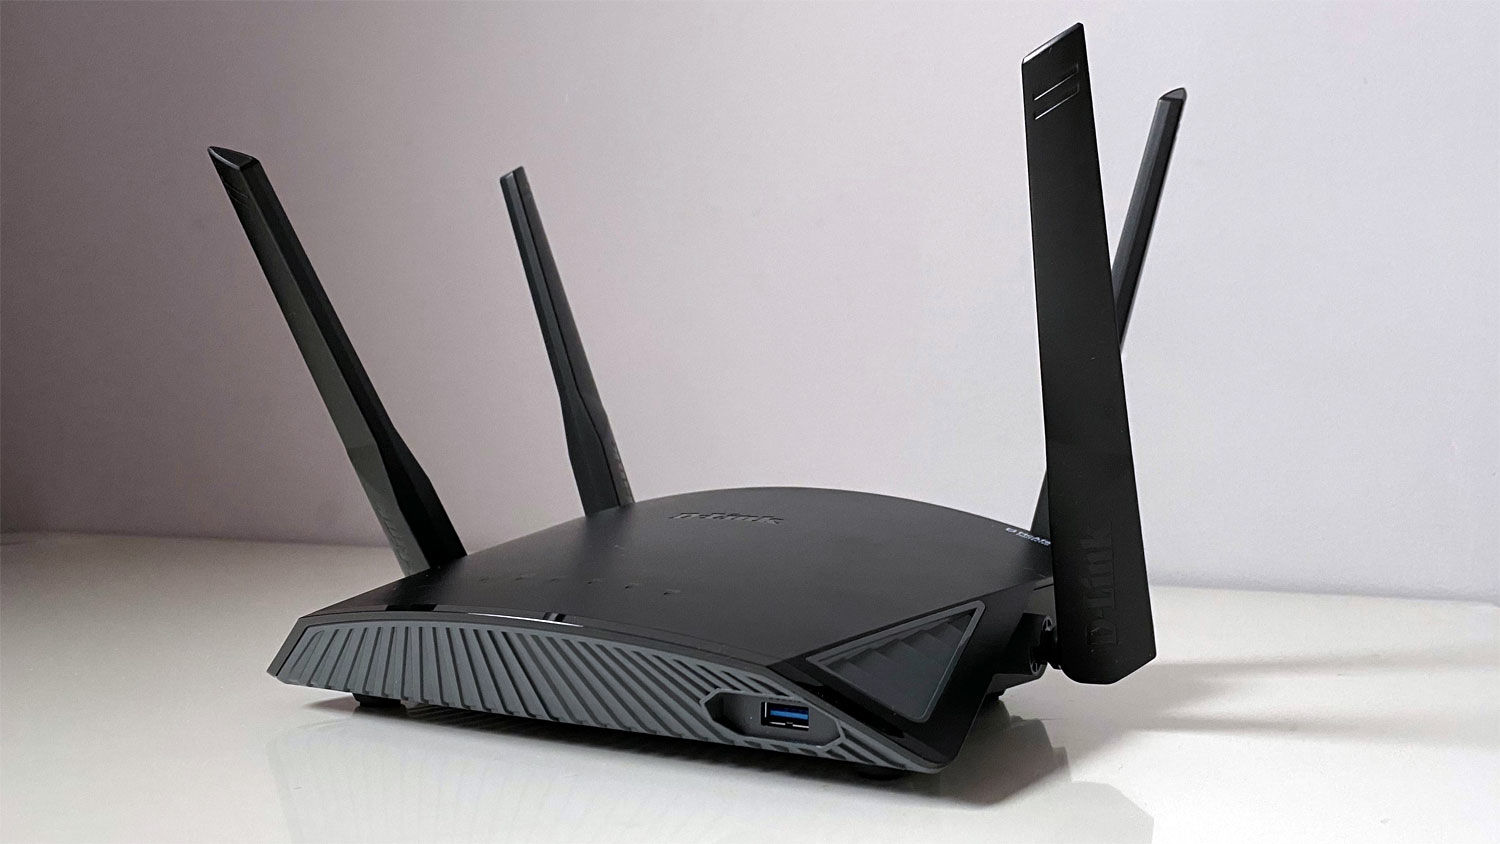
Since your console gets its internet connection from your router, this is the first device in the chain which could provide a VPN connection.
Many modern routers support a VPN connection – all you need to do is manually input your account details in your Wi-Fi router settings.
The issue is that steps vary according to your router brand and VPN service, meaning it’s almost impossible for us to explain how to do it here. However, the general process is to log into your router, find the settings menu and look for a VPN page. Here, you’ll be asked to enter details including:
- Name of the service
- Server address
- Your account name/email address
- Your password
- A pre-shared key for encryption
If your router doesn’t support VPN connections, you could invest in one that does, like a Wi-Fi router from ExpressVPN or one from a supplier such as FlashRouters. It’s not the cheapest option, but it is by far the easiest way to set up a VPN on your PS4 or PS5.
Before you do that, you’ll need to decide which provider to use. NordVPN is one of the best all-rounders, and is a good option for those that want to manually input VPN details as it has plenty of tutorials on how to do it on a variety of routers on its website. There’s no shortage of VPN providers out there though, and we’ve listed our favourites in our roundup of the Best VPN services for those new to the world of virtual private networks.

Note that running a VPN on your router means that every device which connects to the internet will have to use the VPN connection, and that might cause problems for some devices.
Set up a Smart DNS on your PS4 or PS5
If using a VPN router is a little too overkill for your needs, there is a way to change the location on devices that don’t officially support VPNs. It’s called Smart DNS and it’s fairly easy to set up – the catch is that not all VPN providers offer the functionality.
It’s not quite as slick as a VPN, not allowing for quick location changes like with a full VPN app, and it doesn’t encrypt your data, but if you’ve got a specific territory you’d like to connect your console to it’s a good option.
The good news is that Surfshark, NordVPN and ExpressVPN all offer the functionality, so if this is the route that you’d like to go down, you’ll have to subscribe to one of those services. If you’re using ExpressVPN, it has a handy guide on how to get a Smart DNS address for use on PlayStation.
Once you’ve got your Smart DNS address from your VPN provider, here’s how to use it on your console:
PS4
- Head to the Settings menu.
- Select Network.
- Select Set Up Internet Connection and select either LAN or Wi-Fi depending on which you use.
- Select Custom.
- Set IP address to Auto.
- Set DCHP Host to Do Not Specify.
- Set DNS to Manual, and input the Smart DNS your VPN provided you with.
- Set MUT Settings to Auto.
- Set Proxy Server to Do Not Use.
- Select Test Internet Connection to verify your settings.
PS5
- Head to the Settings menu.
- Select Network.
- Select Settings.
- Select ‘Set up Internet Connection’ and select either LAN or Wi-Fi depending on which you use.
- Highlight your connection and press the Options button to bring up the options menu.
- Select Advanced Settings.
- Set IP address to Auto.
- Set DCHP Host to Do Not Specify.
- On the DNS settings section, select Manual.
- Input the Smart DNS you got from your VPN provider, and hit Next.
- Set MUT to Auto.
- Set Proxy Server to Do Not Use.
- Select Test Internet Connection to verify your settings.
If all goes well, you should successfully connect to your Smart DNS and be able to access content from abroad on your console.
Set up a VPN for PS4 or PS5 via Windows PC
If your VPN doesn’t offer Smart DNS functionality, there’s also a way to share a connection from Windows, essentially turning your PC into a virtual router. Your computer will need both an Ethernet port and Wi-Fi (or a second Ethernet port) as it will need to be able to connect to your broadband router for an internet connection.
Also, make sure you’ve already signed up to a VPN provider as you’ll need the login details.
- Install the VPN software of your choice on your PC, and connect to it.
- Plug one end of an Ethernet cable into the back of your PC (or laptop) and the other end into the PS4 or PS5.
- Open Control Panel > Network and Internet > Network and Sharing Center and select Change Adapter Settings on the left-hand side of the window.

- Right-click on your VPN connection and click Properties.

- Open the Sharing tab and make sure ‘Allow other network users to connect through this computer’s internet connection’ is selected.

- Select Home Networking Connection and select your internet connection from the drop-down menu. Note that this will have to be a Wi-Fi connection if you’ve only got a single Ethernet port on your PC.

- On your PS4, go to Settings > Network Settings > Set Up Internet Connection > Use a LAN Cable and select the Easy connection method. On PS5, go to Settings > Network > Set Up Internet Connection. This will automatically scan and set up your Ethernet connection.
- Select “Do Not Use a Proxy Server” when prompted.
- You can test your internet connection if you want, and if all has gone well, your console should now be connected to the internet via a VPN.
Set up a VPN for PS4 or PS5 via your Mac
If you don’t own a Windows PC, another option is to use a Mac and an Ethernet cable, if you’ve got both to hand. Make sure that your Mac has an Ethernet port and Wi-Fi, and is in range of your console.
Oh, and sign up to a VPN provider if you haven’t already – we’ve got a list of the best Mac VPNs if you need help choosing.
- Install the VPN software of your choice.
- Plug one end of an Ethernet cable into the back of your Mac and the other end into the console.
- Go to System Preferences > Sharing and select Internet Sharing from the list on the left-hand side.

- From the ‘Share your connection from’ drop-down menu, select Wi-Fi.

- From the ‘To computers using’ list, make sure Ethernet is ticked.

- Check the box to the left of Internet Sharing on the list to enable the sharing of your internet connection, and confirm the decision if prompted. A green icon will be displayed if successful.

- Open the VPN software on your Mac and connect to your chosen server.
- On your PS4, go to Settings > Network Settings > Set Up Internet Connection > Use a LAN Cable and select the Easy connection method. On PS5, go to Settings > Network > Set Up Internet Connection. This will automatically scan and set up your Ethernet connection.
- Select “Do Not Use a Proxy Server” when prompted.
- You can test your internet connection if you want, and if all has gone well, your console should now be connected to the internet via a VPN.

And there you have it! Four easy ways to connect your PS4 or PS5 to the internet using a VPN and reap the benefits.


