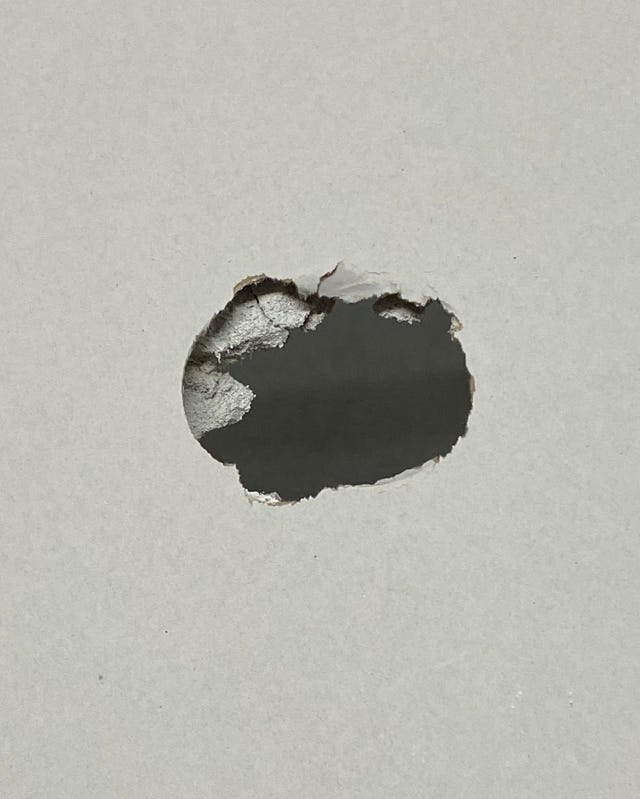
Drywall can take a beating from daily living or home-improvement projects. Sometimes you just have to roll up your sleeves and fix a hole with the materials you have on hand, such as a scrap of drywall and some odds and ends, like a piece of wood and some leftover joint compound.
Drywall repair kits are a blessing when it comes to ease of use, but it’s also true that a good old-fashioned DIY repair might solve the problem and save you a trip to the hardware store, lumber yard, or home center.
Below we outline two such simple drywall repairs, or hacks, if you will that we’ve developed over our years working with the material. The first method is for large holes, anywhere from 6 inches across all the way up to, say, 18 inches. The second is for much smaller holes, up to 6 inches in diameter, and square holes 6 inches on each side.
Big Hole Repair
The Drywall and Scrap Method
This simple way to patch a hole in drywall will hold up well over time if you’re looking for a permanent fix or just trying to get your security deposit back. The best part is that you won’t need any special skills or to spend a bunch of cash on supplies.
The materials you’ll need are:
- a small amount of drywall compound
- a scrap of drywall big enough to patch your hole
- a utility knife
- a piece of string
- a few drywall screws
- some 220-grit sandpaper
- any flat piece of wood 3 to 4 inches longer than the hole that you can fit through it
When it comes to tools, you’ll want a utility knife, a drill/driver, and a drywall putty knife at least 6 inches wide. You can often get a set of three plastic putty knives for under $5, while a set of metal ones can cost as little as $16.
To get started, prepare the drywall hole for repair. Cut a square or rectangular patch rather than an irregular shape attempting to match the dimensions and size of an imperfect hole. So cut the scrap of drywall in your desired shape, making sure that it’s big enough to fully cover the hole in the wall, and use it like a stencil by tracing its outline on the wall around the hole. Then, using a utility knife and a drywall saw if you happen to have one, carefully trim the hole.
Next, tie the string around the middle of the scrap of wood. Holding the end of the string, push the wood into the hole, then pull on the string until the wood bridges across the hole inside the wall. Position the wood across the longest dimension of the hole.
While pulling the string taught, fasten the wood in place by driving a screw through the drywall into the wood on each side of the hole. Sink the screws into the drywall so their heads are just a little below the surface.
You can test fit your drywall patch now without the risk of dropping it into the wall. If it fits well, screw the patch into the wood, in line with the screws on either side of the hole.
The last step is to use drywall compound to hide the repair. You’ll probably need to do this at least twice to do a good job. If you pile on the compound, it will crack while drying. Take the wide putty knife and smoothly spread the compound across the screws and patch, extending about 3 to 4 inches beyond the edges. If it’s a big patch—larger than 8 or 10 inches—it’s best to tape the seam. After the compound dries, wrap the sandpaper around a piece of wood and sand smooth. Apply a second skim coat of compound, overlapping the edges a little to fill in any imperfections. Once it’s dry, lightly sand again and you should be ready for paint.
—Bradley Ford
Small Hole Repair
The “Brick” Method
Decades ago, I had a weekend job doing condo maintenance and repair. I did all kinds of work, including interior and exterior painting and carpentry. Often, I followed right behind a squad of electricians and plumbers who left holes everywhere they went. I developed this drywall repair method to quickly and accurately fix small to medium drywall holes. I call it the brick method because it reminds me of applying mortar to a brick.
If an electrician or plumber would cut an access hole, I would ask them to leave the drywall cutout because I would use it again. When I didn’t have the original cutout, I would square up and neaten up the hole they left and cut a patch to fit the opening.
Here are the steps:
—Roy Berendsohn
Roy Berendsohn has worked for more than 25 years at Popular Mechanics, where he has written on carpentry, masonry, painting, plumbing, electrical, woodworking, blacksmithing, welding, lawn care, chainsaw use, and outdoor power equipment. When he’s not working on his own house, he volunteers with Sovereign Grace Church doing home repair for families in rural, suburban and urban locations throughout central and southern New Jersey.
Brad Ford has spent most of his life using tools to fix, build, or make things. Growing up he worked on a farm, where he learned to weld, repair, and paint equipment. From the farm he went to work at a classic car dealer, repairing and servicing Rolls Royces, Bentleys, and Jaguars. Today, when he’s not testing tools or writing for Popular Mechanics, he’s busy keeping up with the projects at his old farmhouse in eastern Pennsylvania.
£


